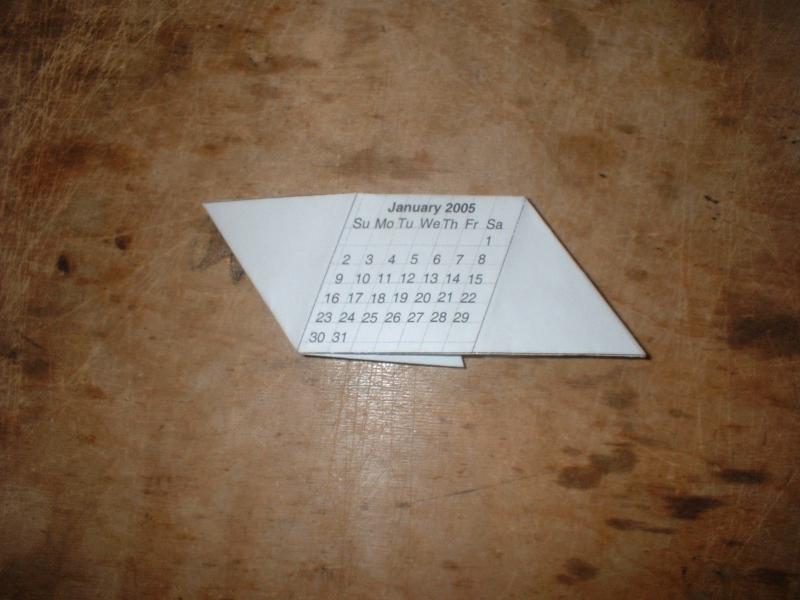
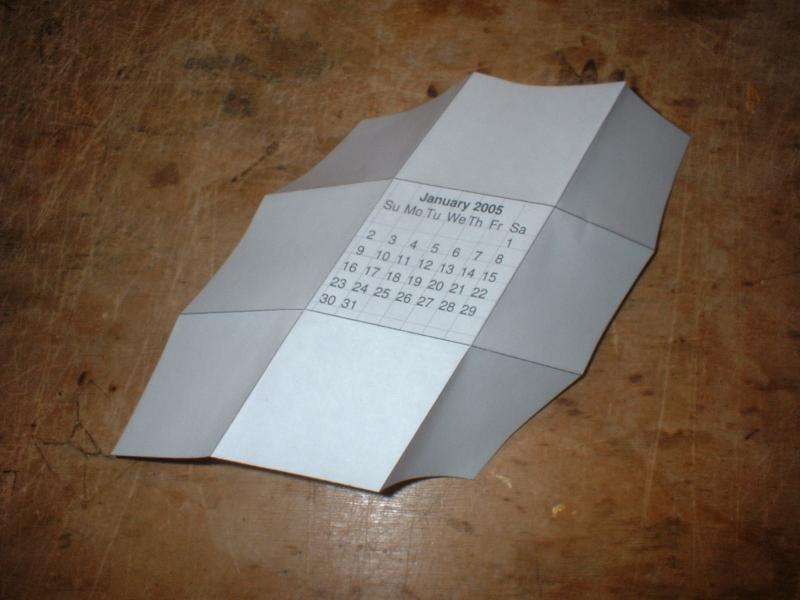
The main idea is to make yourself 12 little origami units that look like this on the front side...
... and like this on the back ...
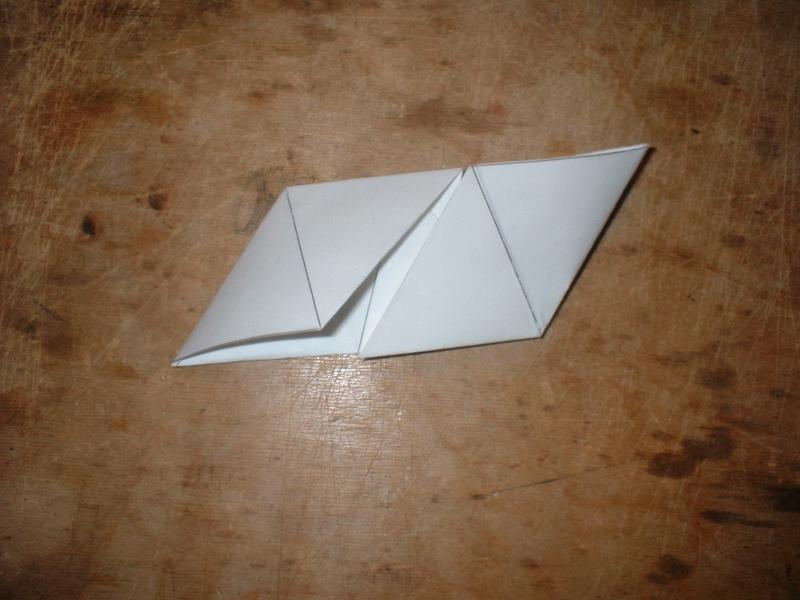
Then you assemble these units, three at a time like so:
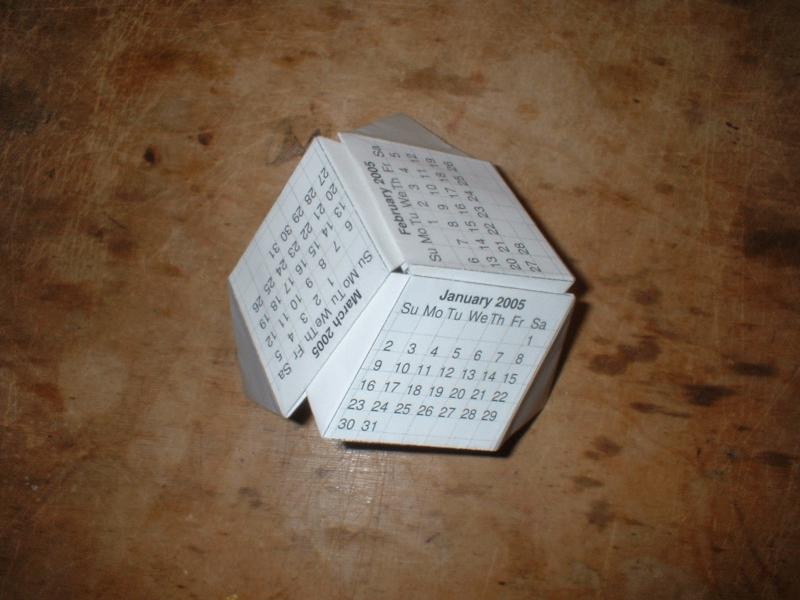
Finally, you put the four sets of three together into a rhombic dodecahedron. (Don't worry, by the time you get to that stage you'll understand how to do it.)
Making the origami units that comprise the dodecahedron is fairly tricky, so detailed instructions follow. You'll probably want to refer to this folding diagram (dashed lines are folded towards you).
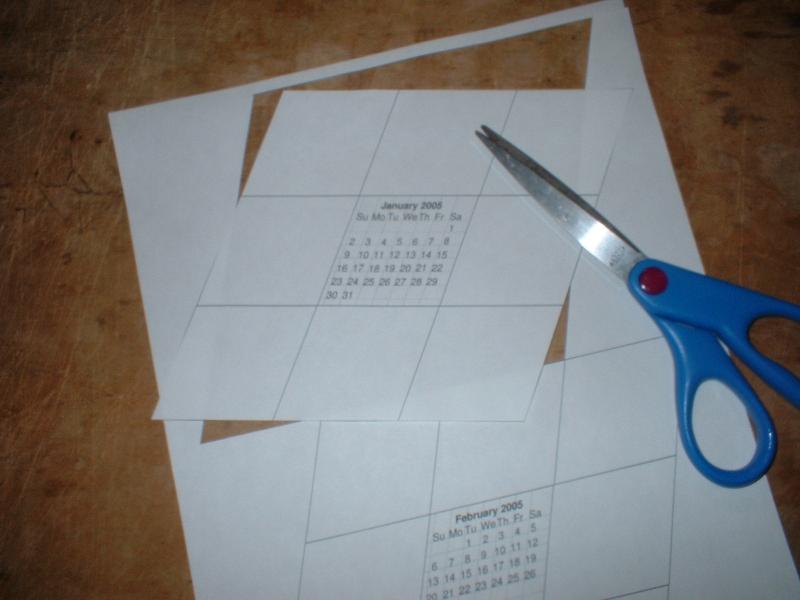
First, carefully cut out the diamond shaped pattern.
Next, fold and crease along the two lines that run across the pattern both horizontally and on the diagonal. (That's four creases all together.)
Next, you'll need to fold-over the extreme tips (where the acute angles are) of the pattern.
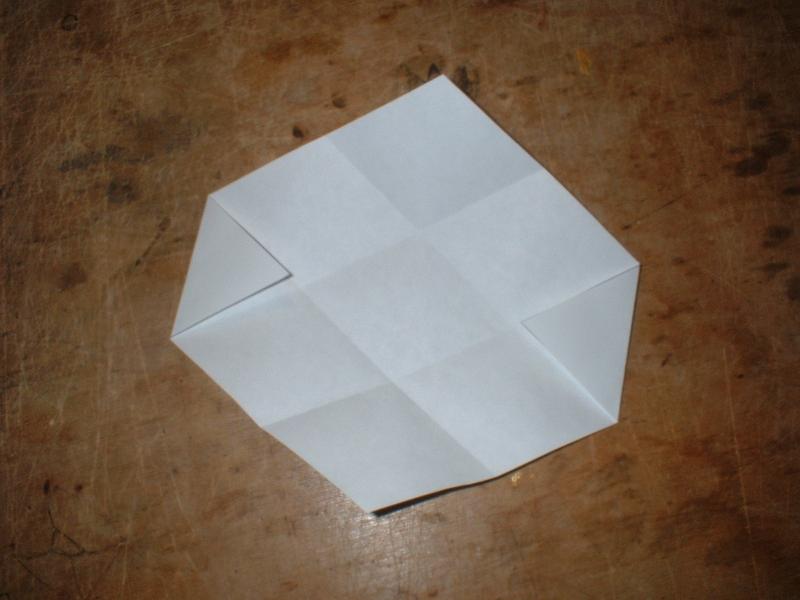
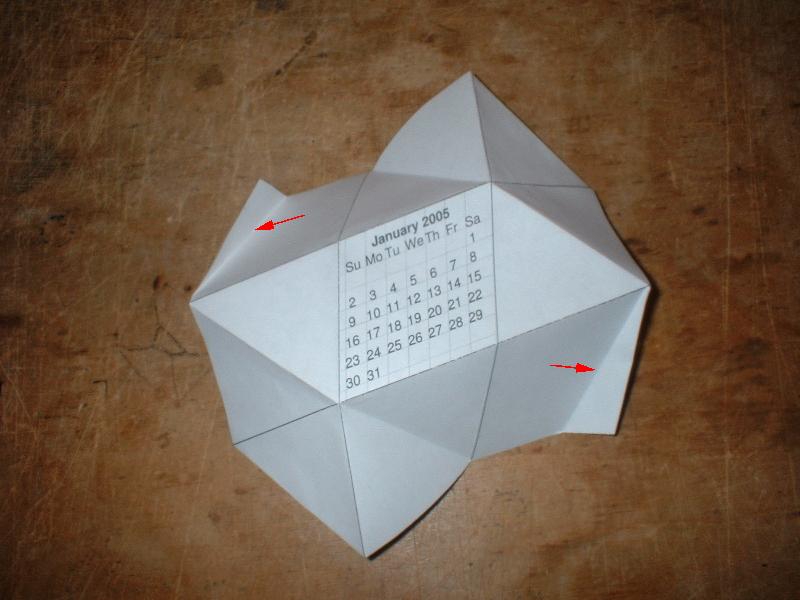
The next set of folds are done across the shorter diagonals of some of the small rhombuses in the pattern. Two of these creases fold towards you and the other two away.
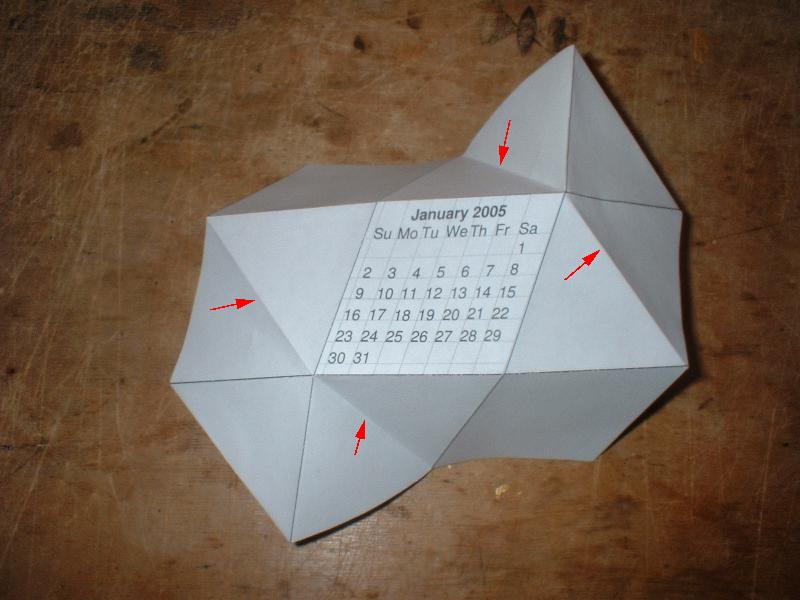
There are some very small triangular flaps that need to be folded out of the way at this stage. Actually, one of them probably will get folded automatically for you -- both are indicated on the folding diagram and pointed-out in the picture below.
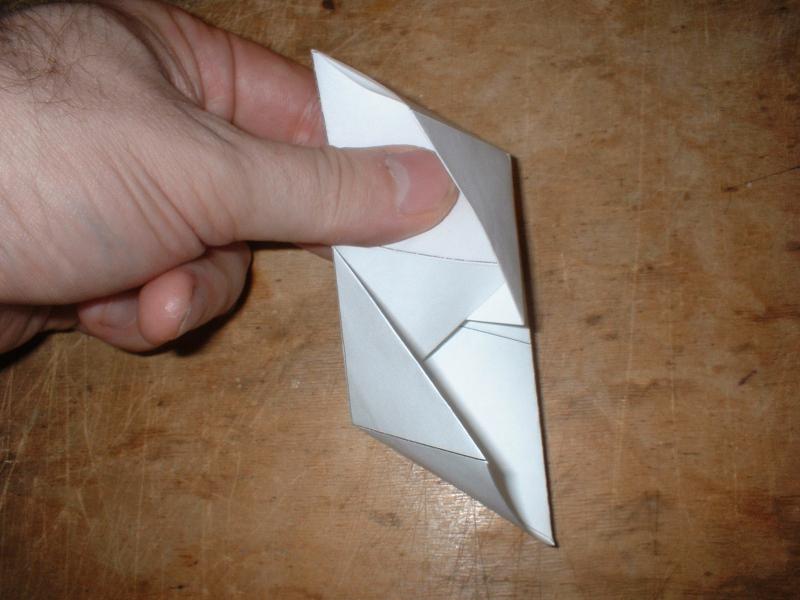
The final step is to lock a projecting tab into a slot so the unit hangs together and make some final creases.

Believe me, by the time you make twelve of these you'll be very proficient... Have fun!